In Step 1 we selected the event that the policy would be based on. This will open the policy editor so we can configure the contents of the policy. The next step is to add and configure the policy items that will be processed in the policy flow chart when the event occurs. In the policy editor you can choose which policy items you require from the policy editor toolbox and drag them on to the worksheet. Once on the worksheet, you can configure each policy item before creating the actual policy flow chart (as explained in step 3).
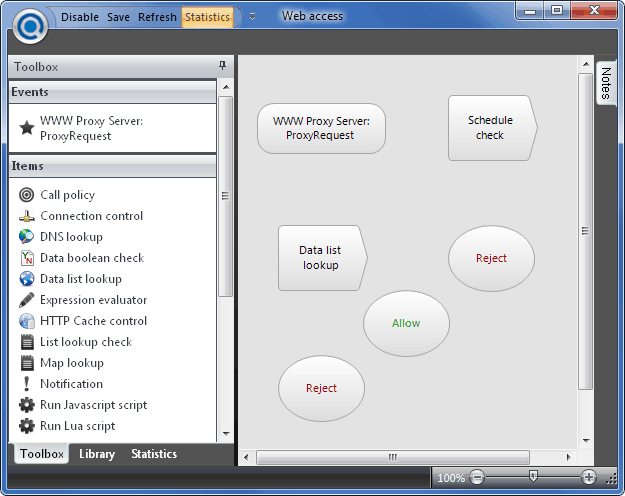
The policy structure will consist of the following policy items:
Select the WWW Proxy Server:ProxyRequest event item from the Events section of the policy editor toolbox, and drag it on to the worksheet.
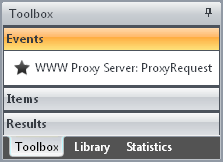
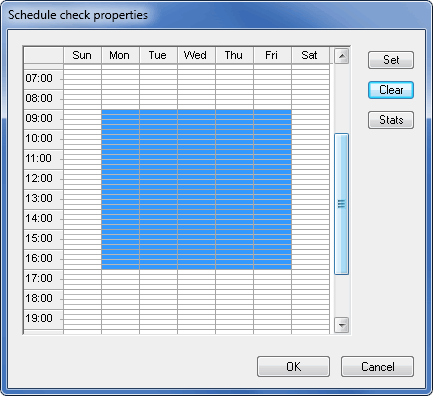
Select a Schedule check policy item from the Items section of the policy editor toolbox, and drag it on to the worksheet. Dragging it on to the worksheet will automatically open its properties, so you can configure the details of the Schedule check policy item.
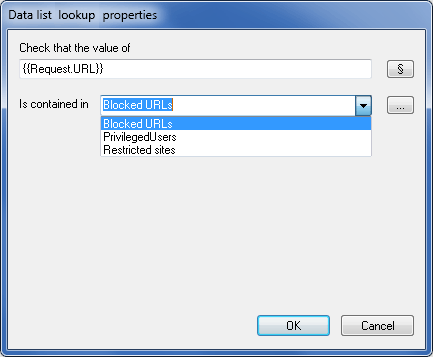
Select the Data list lookup policy item from the Items section of the policy editor toolbox, and drag it to the worksheet. This will open the Data list lookup policy item properties.
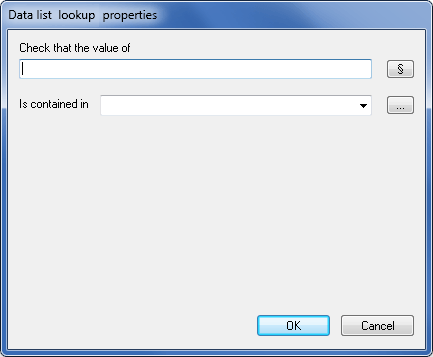
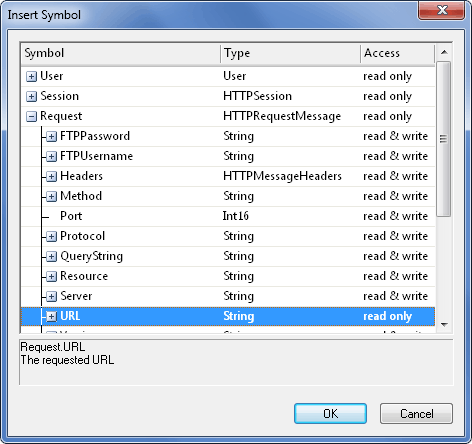
On the right hand side of the Check that the value of field, select the Insert symbol button to open the Symbol Browser.
On the Results section of the policy editor toolbox, select a Result policy item and drag it on to the worksheet. This will open the properties for the Result policy item.
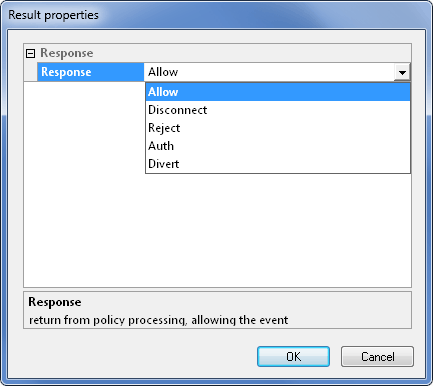
On the Results section of the policy editor toolbox, select a Result policy item and drag it on to the worksheet.
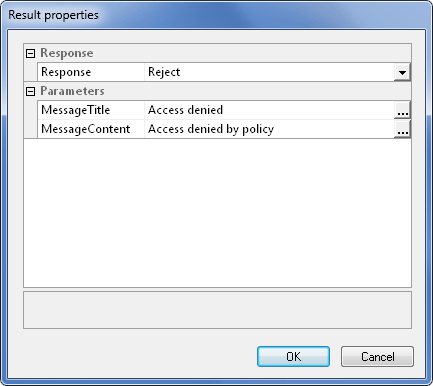
On the Results section of the policy editor toolbox, select a Result item and drag it on to the worksheet.

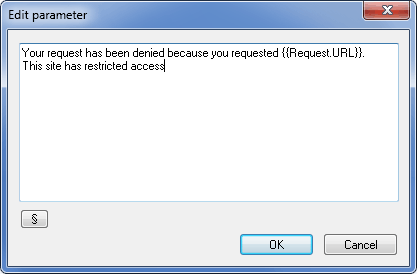
Select the MessageContent field, and configure an appropriate response message that will be sent to the client when their connection is rejected. You can insert relevant event data inside the body of the response message by placing the cursor at the appropriate place in the message and clicking the Insert Symbol button  to open the Symbol Browser. (A sample for the Data list lookup item reject message is provided below.)
All the policy items required to create the structure of the policy are now on the worksheet. The next step is to create the layout of the policy flow chart by connecting the policy items together in their required sequence.
©2012 Qbik New Zealand Limited
no comments yet...
You can use basic Full-Text Searches against the page title and body to find matching articles. Use the following search modifiers to refine your query:
You can create a new account or reset your password at forum.wingate.com.
